Tesla Model Y wheel covers: how to remove and refit them without breaking the clips
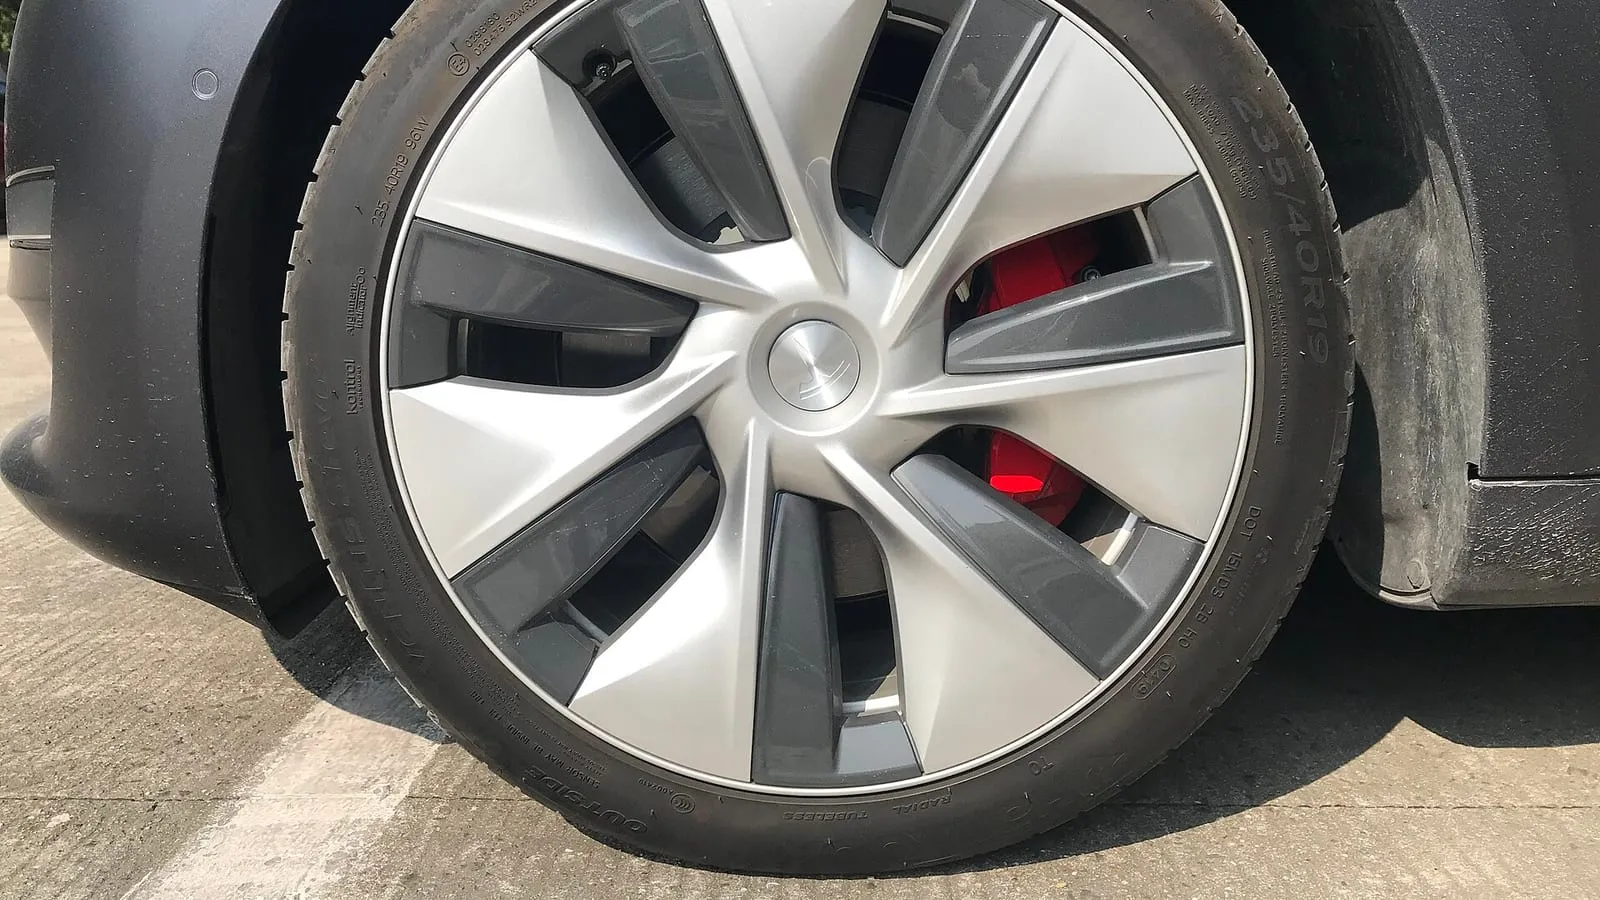
On a Model Y fitted with wheel covers, the covers hide the lug nuts: you cannot take a wheel off without removing them first source. The same step is required before fitting snow chains, and Tesla’s shop listing for Model Y chains recommends removing the Gemini covers on 19-inch Gemini wheels to prevent scratches and scuffs source.
Why they come off
Two situations call for removal. A wheel change, first, since the nuts sit underneath. Fitting chains, second, so the chain can wrap the tyre without rubbing on the plastic. The manual is firm on that second point: fitting chains with Tesla Model Y wheel covers still in place can cause damage the warranty does not cover source.
The manual also separates two parts that are easily confused. The wheel cover hides the whole face of the wheel and comes off by hand. Lug nut covers each hide a single nut and are removed with a lug nut cover tool, kept in the glovebox on some cars, by placing its curved end in the recessed ring around the middle of the cover, twisting it and pulling source. A small Allen key does the job too.
Removing a cover without breaking the clips
The cover is held by retaining clips around its edge. The manual’s method is to grasp it firmly with both hands and pull it towards you to release them.
The 18-inch Aperture and Prismata covers are a special case: find the valve stem opening and start pulling there, then slide your hands along the edge and release the rest one section at a time source. Pulling at random risks forcing a clip that will not give.
Refitting and the final check
Refitting runs in reverse, with one fixed reference point: the valve stem. Once the cover is aligned with it, the manual asks you to press the centre firmly, then work outwards pressing the outer edge of each spoke, holding the opposite side if needed.
One detail matters: press with your hands, do not hit the cover. And the final check is spelled out, too: quickly pull each spoke to make sure all of them are secured. The caution that follows is plain enough: a cover that is not fully secured can fall off while you drive source.
If you removed the cover to take the wheel off, tightening has its own values: 175 Nm of torque with a 21 mm socket source. Only refit the cover once the nuts have been torqued.
Step by step
- Grip the cover with both hands
With the car stationary, grasp the wheel cover firmly with both hands before pulling. - Start at the valve on covers that need it
On 18-inch Aperture or Prismata covers, locate the valve stem opening and start pulling from that exact point. - Release the clips one section at a time
Pull the cover towards you, then slide your hands along the edge to release the remaining retaining clips section by section. - Line the cover up with the valve to refit it
When refitting, align the wheel cover with the valve stem first, before pressing anywhere. - Press the centre, then the edges
Press the centre firmly to secure it, then work outwards pressing the outer edge of each spoke, without ever hitting the cover. - Check every spoke
Quickly pull each spoke to confirm it is secured in place before you drive off again.
Sources
This article is for information only and written independently. Vehicle specifications and regulations can change: always check the sources cited before acting.