Lifting a Tesla without damaging it: the only lift points the manufacturer approves
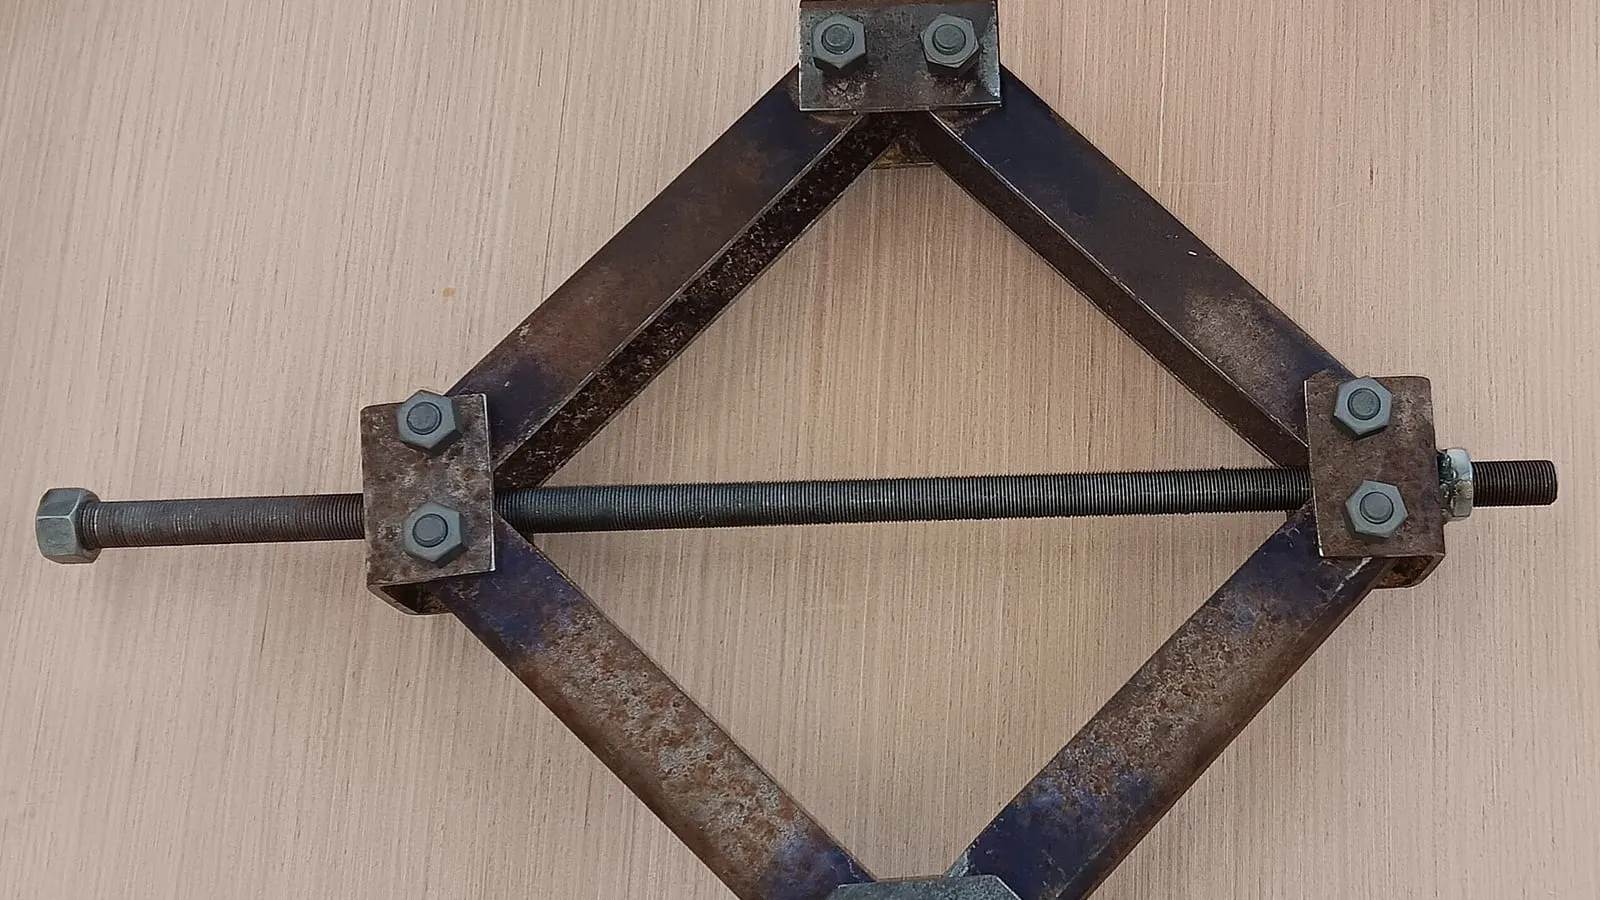
The Model Y manual leaves no room for doubt: lift arm pads must never go under the battery or on the side rails. Only the designated body lift points are approved, and the manual states that damage caused by lifting the car incorrectly is not covered by the warranty source. Knowing the Tesla lift points before the car goes up is what protects both the battery and your warranty.
The only approved points
The procedure starts with positioning: the car sits centrally between the lift posts. The lift arm pads then go under the designated body lift points and are adjusted in height and position so they are correctly located.
The manual adds a useful caveat: its illustration is there to explain the principle, and the exact location of the lift points may differ slightly from one car to another. It therefore asks you to check the car itself for their exact position before lifting source.
The car is raised with a helper, watching that the pads stay in place, and the lift’s safety locks are then engaged following its manufacturer’s instructions.
The absolute don’ts
Three warnings frame the job, and they deserve to be taken literally.
The first concerns charging: never raise the car while the charge cable is connected, even if charging is not in progress source.
The second is about support. The manual forbids working on a car that is not correctly supported, and does not mince its words about the risk: serious damage, bodily injury or death.
The third is about vigilance: it is up to the person lifting to keep the area clear while the car goes up and down, and to make sure the doors, front trunk and liftgate are closed as necessary to avoid damage.
If you take the car to a workshop outside the Tesla network, the manual asks you to make sure it is aware of these instructions, including the lift points and warnings.
After lifting, tightening
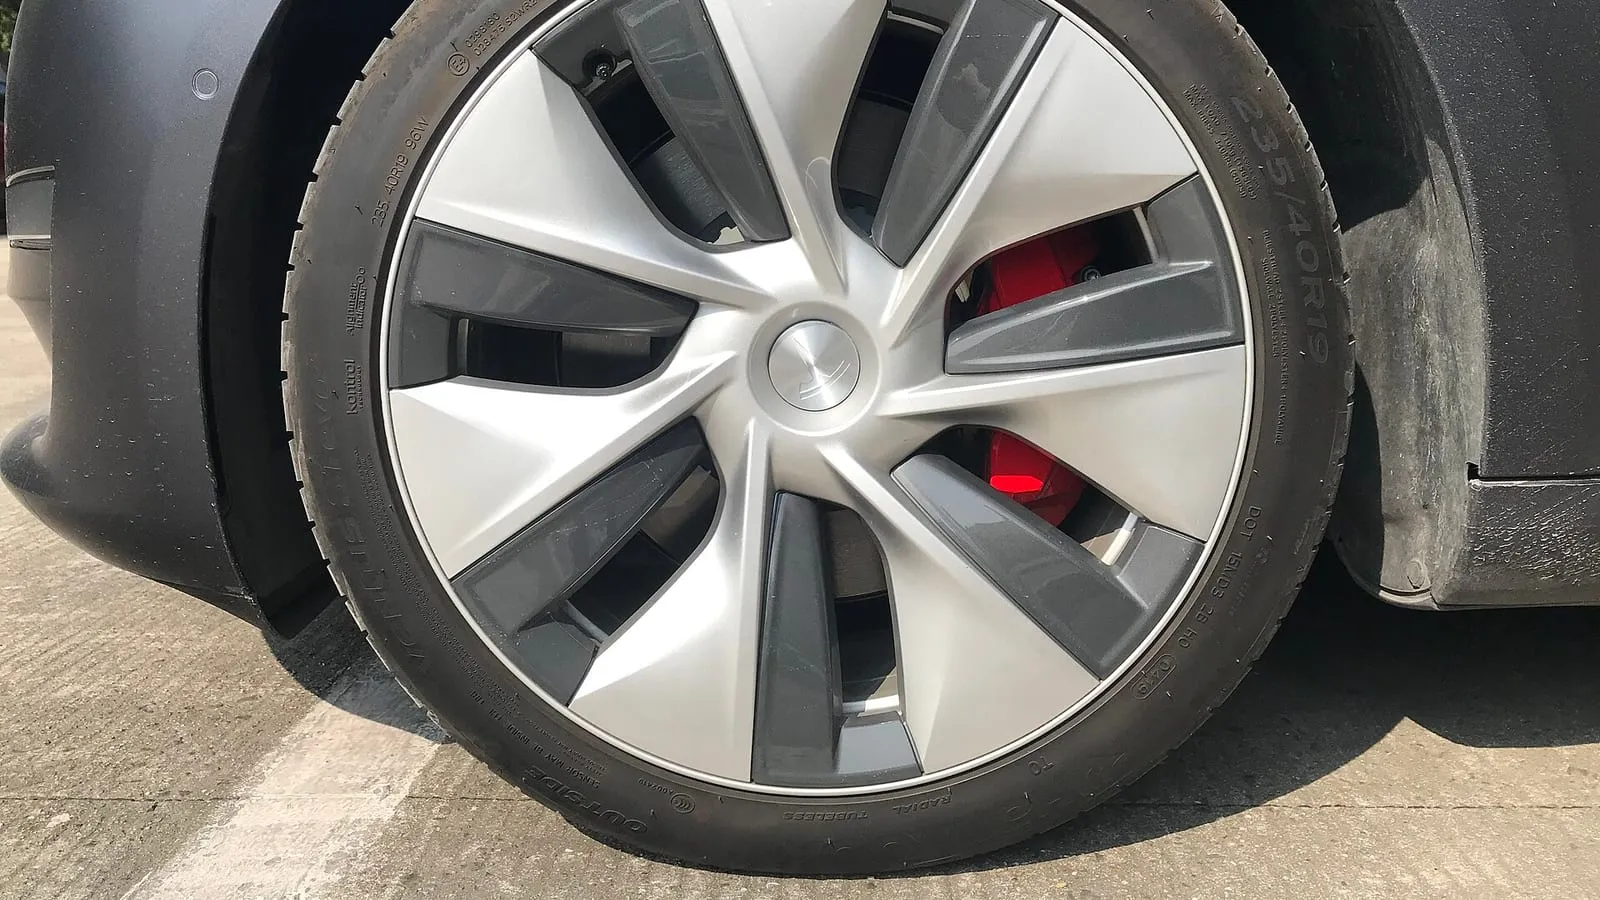
Lifting usually means taking a wheel off, and refitting has its own values: lug nut torque is 175 Nm, with a 21 mm socket source.
One habit completes the job: if tyres were removed or rotated, reset the tyre configuration from the touchscreen so the car starts again with the right settings.
Step by step
- Centre the car
Position the car centrally between the lift posts, with doors, front trunk and liftgate closed as needed. - Unplug the charge cable
The manual forbids raising the car with the charge cable connected, even if charging is not in progress. - Place the lift arm pads
Put the lift arm pads under the designated body lift points, never under the battery or on the side rails. - Adjust height and position
Adjust the height and position of the pads so they are correctly located before anything starts to rise. - Raise with a helper
Raise the lift to the desired height with assistance, making sure the pads stay in their correct positions. - Engage the safety locks
Engage the lift's safety locks, following the lift manufacturer's instructions, before working under the car. - Torque the nuts when refitting
If a wheel came off, tighten the lug nuts to 175 Nm with a 21 mm socket, with the wheel back on the ground.
Sources
This article is for information only and written independently. Vehicle specifications and regulations can change: always check the sources cited before acting.