Puncture on a Tesla: how to use the temporary tyre repair kit, and when not to
The temporary tyre repair kit sold by Tesla injects sealant and then reinflates the tyre, long enough to reach a workshop. It does not cover every case: for a puncture larger than 6 mm, severe tread damage, a damaged sidewall, a ripped tyre or one that has come off the rim, the manual tells you to contact Roadside Assistance rather than attempt a repair source.
What the kit can and cannot fix
The limit comes down to size and position. A clean hole in the tread, under 6 mm, is within the Tesla tyre repair kit’s reach. Everything else is not: tears, sidewall damage, a tyre that has left its rim.
Two safety instructions apply before you even start. The manual says never to drive on a deflated tyre, and never to remove a foreign object embedded in it: the nail or screw helps keep the seal once the sealant is in source.
The compressor has its own limit too: no more than 20 minutes of continuous running.
Limits to know before you set off
The sealant only works between -40 °C and 50 °C, and it carries an expiry date on its label. The manual says not to use it once that date has passed, and explains how to swap the canister: take out the transparent sealant tube, press the red release button while lifting the canister out, then press the new one firmly into the case and reattach the tube source. The empty canister goes for disposal according to local regulations.
The procedure plans for failure. If the gauge still reads under 22 PSI, or 1.5 bar, after fifteen minutes of continuous operation, disconnect the tube, refit the valve cap, drive a few metres to spread the sealant, then repeat the steps. If it still fails, the manual refers you to Tesla Roadside Assistance.
The repair is temporary in the strictest sense. The manual warns that driving at high speed or for long periods on a tyre repaired this way may cause serious damage or injury.
After the repair
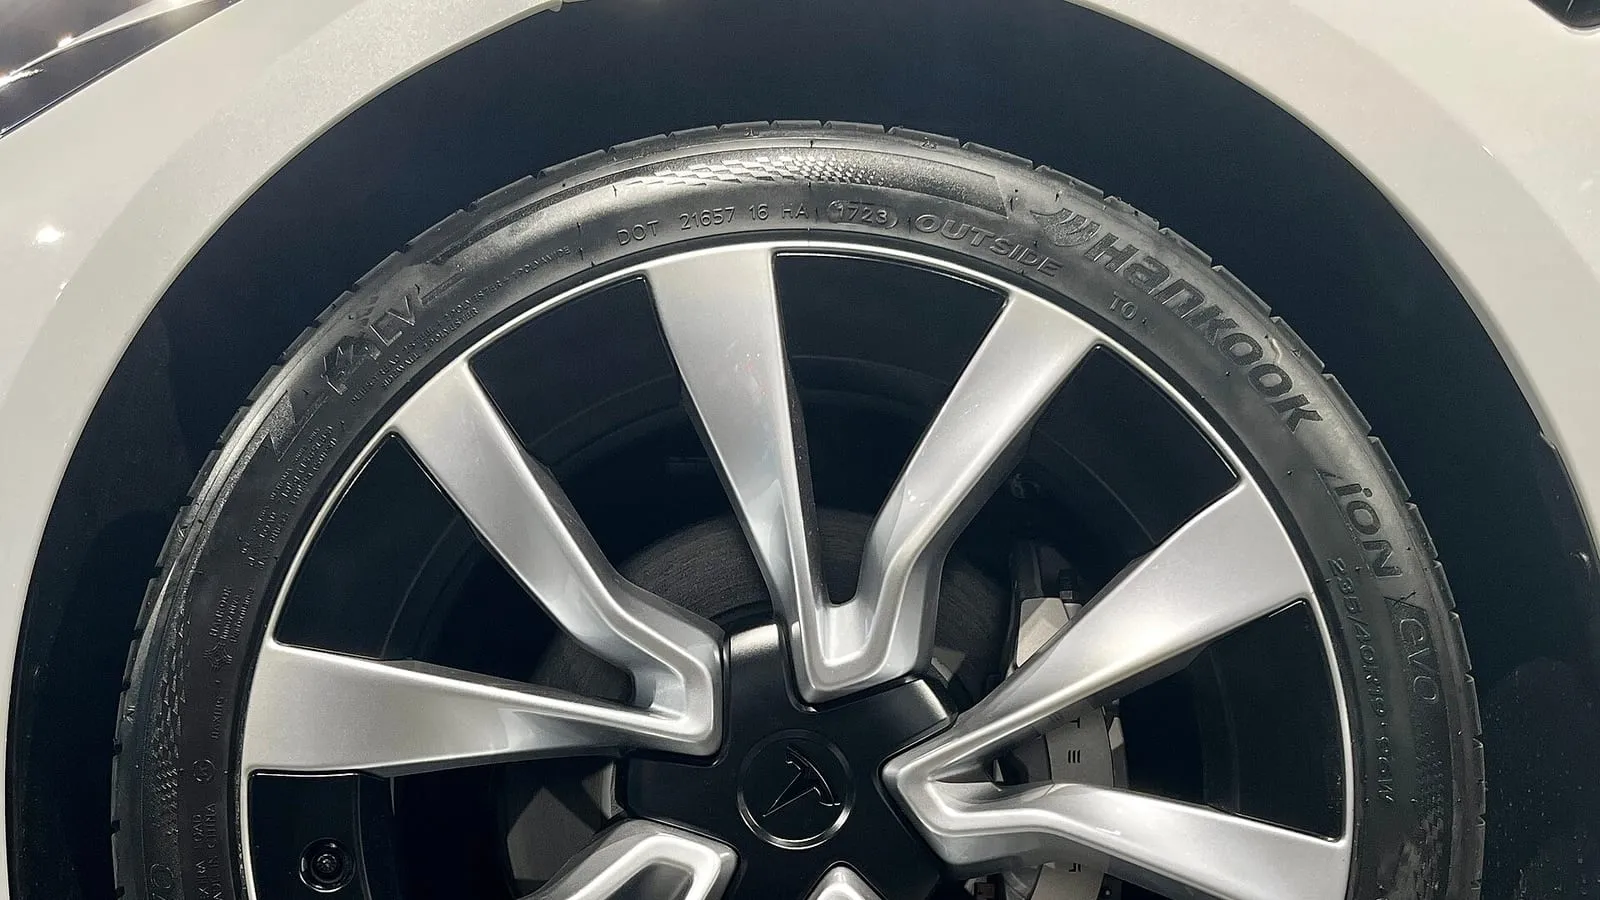
The tyre must be permanently repaired or replaced as soon as possible. If you have it replaced, two things matter when you get the car back: the load and speed ratings must match the original specification, and the tyre configuration must be reset from the touchscreen under Controls > Service > Wheel & Tire > Tires, which the manual asks for after any tyre service source.
On cars with indirect TPMS, a manual calibration is also required once all four tyres are at the correct pressure. Without it, underinflation warnings are no longer reliable.
Step by step
- Make the car safe
Park in a safe, open location and check that the kit's compressor is switched off before you touch anything. - Connect the sealant canister
Remove the valve cap from the punctured tyre and connect the transparent sealant tube to the valve. - Power the kit
Plug the kit into one of the car's low voltage outlets, turn the selector switch to the tyre icon and switch it on. - Inject and watch the gauge
Let the sealant flow in, then after several minutes check that the gauge shows the pressure given on the driver's door pillar. - Disconnect and drive ten minutes
Switch the kit off, disconnect the tube, refit the valve cap and drive for about ten minutes without sudden acceleration or braking. - Top up with the compressor
Park again, turn the switch to the pump icon, connect the black inflation tube to the valve and inflate to the recommended pressure. - Head to a tyre shop
Drive to a professional within the speed limit shown on the sticker on the kit, to have the tyre repaired or replaced.
Sources
This article is for information only and written independently. Vehicle specifications and regulations can change: always check the sources cited before acting.